Crochet guide
How to join granny squares: seams, order and blanket size
Updated by Khokhar Sab
To join granny squares, block them to the same size, lay them out, then join every seam in one direction before you turn and join the other. Hook joins such as slip stitch, single crochet and the zipper join need no sewing. Needle joins such as whip stitch and mattress stitch hide best in matching yarn. Work into the stitches and corner chains, not around them.
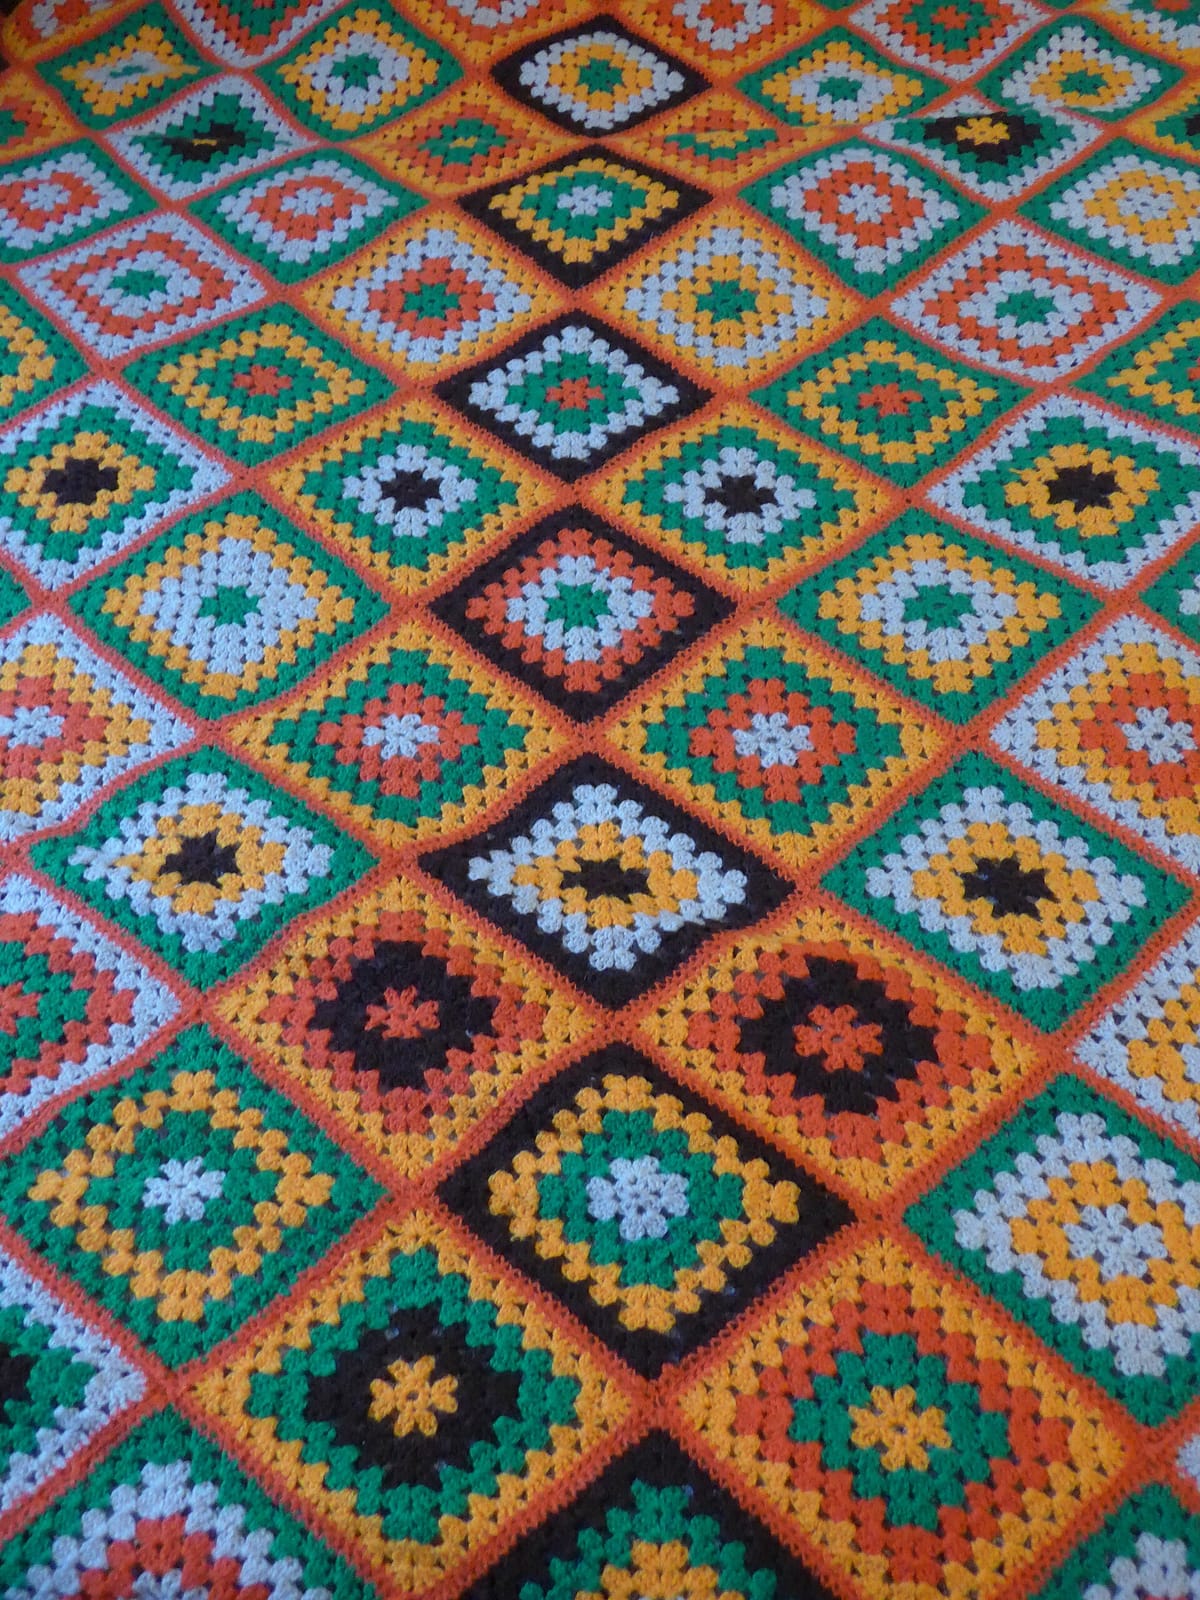
How to join granny squares: the main methods compared
The top tutorials agree on a short list of joins. This table sums up how Simply Yarn, Attic24, Craft Passion, Handy Little Me and Blue Star Crochet describe each one.
| Join | Tool | How it looks | Seam profile |
|---|---|---|---|
| Whip stitch | Yarn needle | A solid seam you can see | Firm, with little stretch |
| Mattress stitch | Yarn needle | Nearly invisible from the front | Flat |
| Slip stitch | Hook | A chain ridge on one side, neat on the other | Slightly raised |
| Flat slip stitch or zipper | Hook | A line like a zipper between squares | Flat |
| Single crochet seam | Hook | A ridge between squares, or hidden if worked on the back | Raised, adds texture |
| Join-as-you-go | Hook | Squares linked on their last round, no separate seam | Built into the last round |
| Flat braid | Hook | A twisted, lacy braid between squares | A lacy strip between squares |
Before you join: block and lay out the squares
Handy Little Me says to make sure every square is the same size first and to block any that are not. Simply Yarn explains why: blocking dampens the yarn, relaxes the fibers and fixes the shape, so the edges sit straight and the stitches line up for joining. It also warns you may want to block again once the blanket is joined.
Small size differences add up along a row. If each square in a row of 10 comes out a quarter inch too big, that row is 2.5" wider than planned.
Then lay every square out in its final place. We Are Knitters suggests arranging them all on a table before you start. The granny square calculator draws a color layout you can follow.
Where to put the hook or needle
- Into the stitches, not the spaces. Simply Yarn says to work into the chains rather than around them, which keeps the join straight.
- Corner to corner. Start in the corner chain of both squares and finish in the corner chain at the other end. Simply Yarn includes one corner chain on each square.
- Count in opposite directions. Hold two squares side by side and their stitches run toward each other. Start in the first stitch of one square and the last stitch of the other.
- Pick your loops. Attic24 works under the outside loops only. Craft Passion uses the inside loops for its flat slip stitch join.
Whip stitch
Hold two squares with the right sides facing each other, so the seam ends up on the back. Blue Star Crochet sews from stitch to stitch along the edge, always passing the needle in the same direction. Simply Yarn calls whip stitch the least neat join and notes it has little stretch. It suggests matching the yarn to the squares so the stitches blend in.
Mattress stitch (invisible seam)
Lay both squares right side up, edges touching. Handy Little Me weaves a yarn needle through the back loops of each square in turn. Every few stitches, it pulls the yarn gently so the seam closes like a zipper. Pull too hard and the edge puckers. Underground Crafter starts with a tail about three times the length of the seam. Blue Star Crochet calls the result a nearly invisible, flat join.
Slip stitch join
This is the join Attic24 uses. Hold the squares right sides together and insert the hook under the outside loops of both. Yarn over and pull through both loops and the loop on the hook. Repeat along the edge. The right side stays flat, and a neat ridge of chain stitches forms on the back.
Hold the squares wrong sides together instead and the ridge shows on the front as a design line. Simply Yarn describes a slip stitch join as raised, with little horizontal lines on the back.
Flat slip stitch and zipper join
For a seam that lies flat, lay both squares right side up, side by side. Handy Little Me works a slip stitch through the back loop only of each square, with the same hook as the squares or one slightly smaller. Simply Yarn adds a zipper version: back loops only, bringing the yarn from the back on each yarn over. It calls the result perfectly flat, with sharp edges and no ruffling.
Single crochet seam
Work one single crochet through each pair of stitches. With wrong sides together the seam sits on the front as a ridge. Craft Passion says it gives the blanket "texture and dimension." With right sides together, Blue Star Crochet notes, the ridge stays on the back. Simply Yarn shows a double crochet version that builds a raised, waffle-like texture.
Join-as-you-go and flat braid
Join-as-you-go links each new square to its neighbors while you crochet its final round. Craft Passion notes that you need to plan the arrangement first. In return, there is no separate joining stage at the end.
The flat braid join also works on the last round. Craft Passion describes it as a twisted braid between squares, and Blue Star Crochet as lacy and decorative. Blue Star suggests keeping the chain lengths the same at every join so the squares stay lined up.
Which order to join granny squares in
The tutorials that cover joining order all finish the seams in one direction before starting the other. They differ on which comes first. Attic24 and Handy Little Me join the horizontal rows first, then turn the blanket and join the columns. We Are Knitters starts with the vertical seams. Either works.
- Join the first two squares of the top two rows, then keep going along the edge to the next pair without cutting the yarn. Attic24 does this so one long seam joins two whole rows, with fewer ends to weave in.
- Repeat for every pair of rows.
- Turn the blanket a quarter turn and join the columns the same way.
- Where seams cross, Attic24 works into the very last stitch of the earlier ridge. Simply Yarn adds a chain 1 to step over a join that is already there.
Joined this way, a 10 × 12 throw takes 20 long seams and an 18 × 20 queen takes 36.
How the join changes the blanket size
A join that adds width repeats at every seam. A row of 10 squares has 9 seams, so a half inch join adds 4.5" across the row. The tutorials describe joins as flat or raised but give no widths, so measure your own. Join two blocked squares, measure across both, and subtract twice the size of one square.
Here is what that does to 5 inch squares, worked out with the granny square calculator. First, you keep the count you planned for a flat join, and the blanket grows.
| Blanket | Join adds Flat (0") | Join adds 1/4" | Join adds 1/2" |
|---|---|---|---|
| Throw, 10 × 12 squares | 50" × 60" | 52.25" × 62.75" | 54.5" × 65.5" |
| Queen, 18 × 20 squares | 90" × 100" | 94.25" × 104.75" | 98.5" × 109.5" |
The same 18 × 20 queen goes from 90" × 100" to 98.5" × 109.5" with a half inch join. Next, you aim for the target size and let the calculator change the count.
| Blanket | Join adds Flat (0") | Join adds 1/4" | Join adds 1/2" |
|---|---|---|---|
| Throw, 50" × 60" | 120 squares (10 × 12; 50" × 60") | 110 squares (10 × 11; 52.25" × 57.5") | 99 squares (9 × 11; 49" × 60") |
| Queen, 90" × 100" | 360 squares (18 × 20; 90" × 100") | 323 squares (17 × 19; 89" × 99.5") | 288 squares (16 × 18; 87.5" × 98.5") |
A half inch join cuts the throw from 120 squares to 99, and the queen from 360 to 288. That is 72 fewer squares to make for the queen. Whole squares rarely land on a size exactly, so the finished size in brackets can come out a little over or under the target. Put your measured join into the "Join adds" box in the granny square calculator to get the count for your own blanket. The blanket size chart lists the standard sizes.
Common questions
Do you have to block granny squares before joining?
Simply Yarn strongly recommends it, because blocked squares are the same size with straight edges, which makes the stitches line up.
How do you join granny squares without sewing?
Use a hook join: slip stitch, flat slip stitch, zipper or single crochet. Join-as-you-go skips the joining stage altogether.
What is the most invisible way to join granny squares?
Mattress stitch in matching yarn. Blue Star Crochet calls it nearly invisible, and Handy Little Me uses it where the join should disappear. Among hook joins, Simply Yarn describes the zipper join as perfectly flat.
What hook and yarn should you use for joining?
Handy Little Me uses the same yarn and hook as the squares, or a hook slightly smaller for more control. A contrast color makes a feature of the seam. The crochet hook size chart converts between metric and US sizes.
How much extra yarn does joining take?
None of the tutorials give a figure. The granny square calculator adds 15% by default for joining and finishing. For a full blanket estimate from a swatch, see how to estimate yarn for a blanket or the blanket yarn calculator.
Sources and further reading
Simply Yarn covers whip stitch, needle weave, slip stitch, double crochet and zipper joins, plus blocking, in How to join granny squares. Attic24 shows the slip stitch join and joining whole rows in Joining Granny Squares. Craft Passion lists twelve joins, from single crochet to flat braid, in 12 Ways To Join Granny Squares. Handy Little Me explains mattress stitch and the flat slip stitch in How To Join Granny Squares The Easy Way. Blue Star Crochet compares six joins in How to join crochet granny squares. We Are Knitters and Underground Crafter also publish joining tutorials.
Video tutorial
"CROCHET: How to join granny squares for beginners | Bella Coco" by Bella Coco, on YouTube. The video loads only when you press play.