Quilting guide
Half-square triangles: which method to use
Updated by Khokhar Sab
Two at a time is the simplest method and keeps the outer edges on the straight grain. Cut its squares ⅞" bigger than the finished size. Four at a time and eight at a time make more units per pair of squares and are faster for large batches. Four at a time, though, leaves bias edges on the outside of every unit.
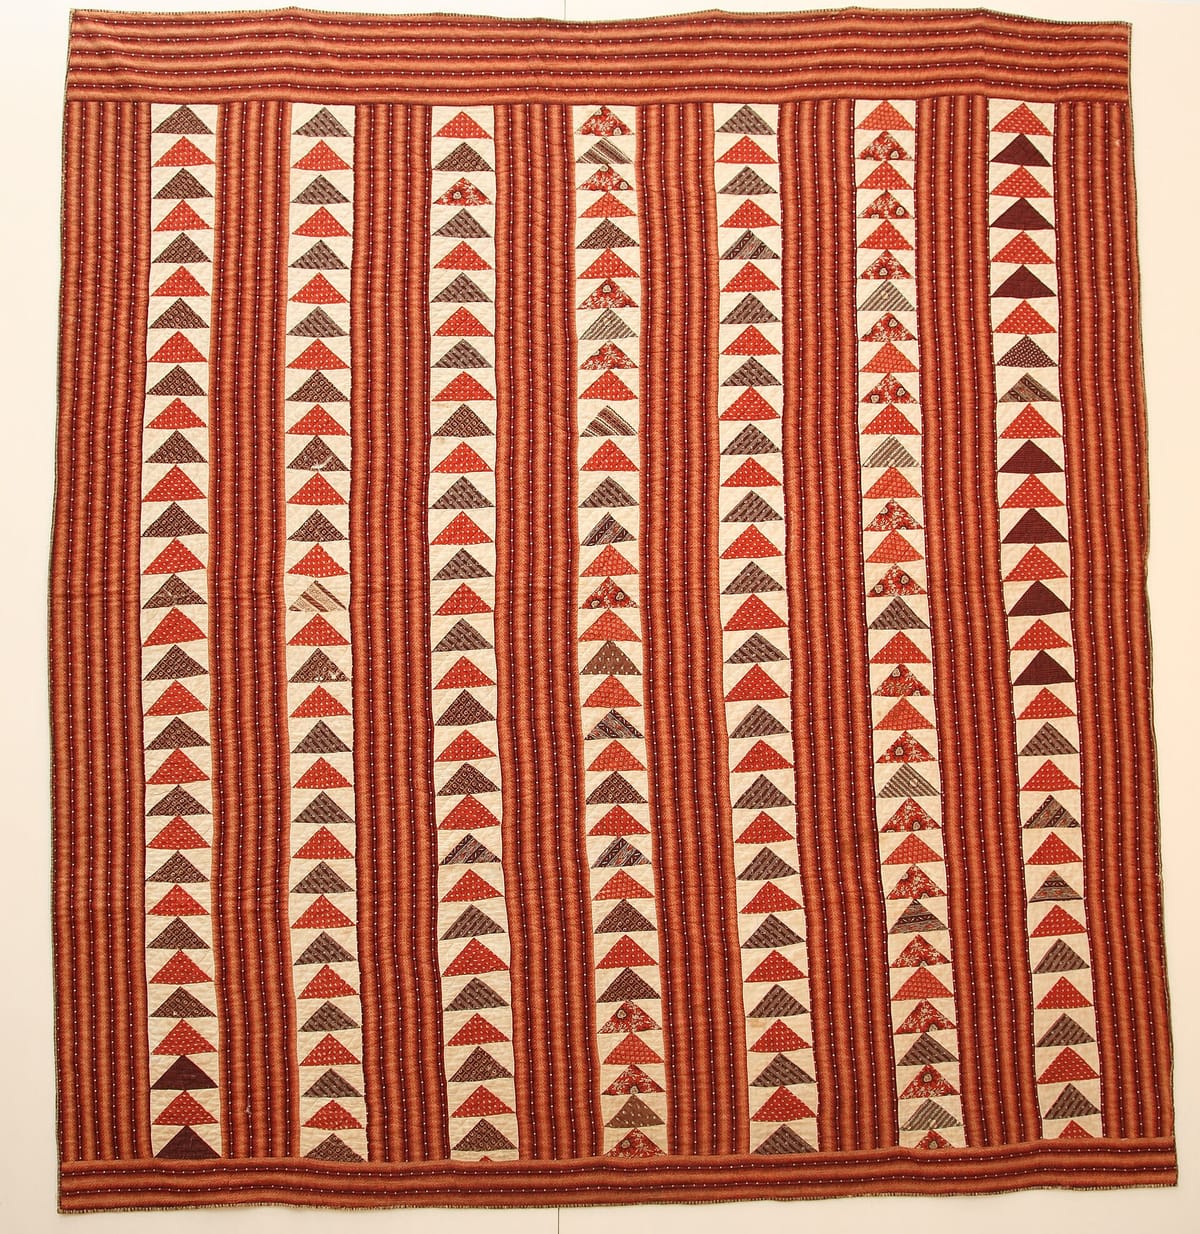
What a half-square triangle is
A half-square triangle (HST) is a square made of two right triangles sewn along the diagonal, usually in two contrasting fabrics. It appears in many traditional blocks. The Missouri Star blog says HSTs show up in about 80 percent of the quilts its team sews. That is why batch methods that make several at once save a lot of cutting and sewing.
All the common methods start with two squares placed right sides together, one from each fabric. The difference is how you sew and cut them, which changes how many HSTs each pair makes and how big the starting squares need to be.
The three batch methods
- Two at a time
- Draw one diagonal on the back of the lighter square, sew ¼ inch on each side of the line, and cut on the line. One pair of squares makes 2 HSTs.
- Four at a time
- Sew ¼ inch around all four edges of the pair, then cut along both diagonals. One pair makes 4 HSTs.
- Eight at a time
- Draw both diagonals, sew ¼ inch on each side of both lines, then cut the square in half across and down, and along the drawn lines. One pair makes 8 HSTs.
Other ways to make HSTs
The calculator covers the three batch methods above. Tutorials describe a few more, and you will meet them in patterns:
- One at a time: cut two triangles, each ⅞ inch larger than the finished size, and sew them along the long edge with a ¼ inch seam. Simply Quilting calls this the triangle method. The long edge you sew is a bias edge, so handle it gently.
- Strip piecing: Sarah Maker gives a chart for cutting HSTs from sewn strips, and notes that it suits jelly rolls and other precut strips.
- Large batches: Simply Quilting describes a batch method that makes 16 units from one pair of large squares.
- Foundation paper piecing: you sew along lines printed on paper. Simply Quilting's example sheet makes 12 units, and the count depends on the size of the printed foundation.
Cut sizes for exact HSTs
Exact cut sizes give an HST at its unfinished size (finished size plus ½ inch) straight from the sewing machine, as long as the seams are accurate. The calculator uses these formulas:
- Two at a time: finished size + ⅞ inch.
- Four at a time: finished size × 1.414 + 1¼ inch, rounded up to the next ⅛ inch.
- Eight at a time: 2 × (finished size + ⅞ inch).
The two-at-a-time formula matches the one in the Sarah Maker HST charts, which also point out that the four-at-a-time numbers don't come out as tidy fractions. That is why the calculator rounds them up to the ⅛ inch marks on a ruler.
| Finished HST | Two at a time | Four at a time | Eight at a time |
|---|---|---|---|
| 2" | 2⅞" | 4⅛" | 5¾" |
| 3" | 3⅞" | 5½" | 7¾" |
| 4" | 4⅞" | 7" | 9¾" |
| 6" | 6⅞" | 9¾" | 13¾" |
Exact or trim to size
A slightly off seam or a little stretch can leave an exact HST too small. The trim-to-size approach cuts the starting squares bigger, then squares each finished unit down to its unfinished size with a ruler. It takes an extra step, and the trimmed units all come out the size you cut them to.
The calculator's trim sizes start from the unfinished size, u = finished + ½ inch. They are u + 1 inch for two at a time, u × 2 for four at a time, and u × 2 + 1 inch for eight at a time. These match the cut sizes in the My Girlfriend's Quilt Shoppe guide to four ways of making HSTs. The Sarah Maker charts suggest a smaller cushion, adding ¼ inch to the exact size, if you want only a little room to trim.
| Finished HST | Two at a time | Four at a time | Eight at a time |
|---|---|---|---|
| 2" | 3½" | 5" | 6" |
| 3" | 4½" | 7" | 8" |
| 4" | 5½" | 9" | 10" |
| 6" | 7½" | 13" | 14" |
Bias edges
Fabric stretches very little along the straight grain and a lot along the bias, the 45 degree diagonal. Where the cuts fall decides which edges of the HST end up on the bias.
In two at a time, the only bias cut is the diagonal you sew along, so it is held by the seam. The outer edges of the unit are the edges of the original squares, which are on grain. Eight at a time works the same way. The across and down cuts are on grain, and each diagonal cut runs between two lines of stitching. That leaves the outer edges of each HST on grain too.
Four at a time is different. The outer edges of each unit come from the two diagonal cuts, so all four sides of every HST are on the bias. They stretch easily when you press or sew them. Press with an up-and-down motion rather than sliding the iron, and handle the units gently until they are sewn into a block. The calculator shows a bias warning when you pick this method.
Pressing the seam
You can press the seam to one side or open. Simply Quilting's HST guide says a seam pressed to one side usually goes toward the darker fabric. When you sew two units together, those seams can face opposite ways and nest. Pressing open means you don't have to plan seam directions, but the same guide warns that quilting in the ditch may then work less well. Sarah Maker also presses toward the dark side and leaves the choice to you.
Whichever way you press, press straight down and lift the iron, so the bias seam doesn't stretch.
How to trim an HST to size
Trimming is the second step of the trim-to-size approach, and it also tidies exact units that came out a little big. A square ruler with a 45 degree line makes it quick.
- Lay the HST on a cutting mat. Place the ruler on it so the size you want, the unfinished size, sits inside the unit.
- Line up the ruler's 45 degree line with the seam.
- Trim the excess from the two sides that stick out past the ruler.
- Turn the unit around. Line up the two trimmed edges with the size marks, keep the 45 degree line on the seam, and trim the other two sides.
Simply Quilting's rule for checking the result: the seam should run across the middle of the unit and meet both corners exactly. For 3 inch finished HSTs, every trimmed unit measures 3.5 by 3.5 inches.
Fabric used for 48 HSTs
Here is the calculator's default project: 48 HSTs at 3 inches finished (3.5 inches unfinished), cut from 42 inch fabric with 2 inches of selvage trim and 10 percent extra. The yardage is for Fabric A; Fabric B needs the same amount.
| Method | Squares per fabric | Exact cut | Fabric A, exact | Trim cut | Fabric A, trim |
|---|---|---|---|---|---|
| Two at a time | 24 | 3⅞" | ⅜ yd | 4½" | ½ yd |
| Four at a time | 12 | 5½" | ⅜ yd | 7" | ¾ yd |
| Eight at a time | 6 | 7¾" | ½ yd | 8" | ½ yd |
With exact sizes the methods use similar amounts of fabric. Two at a time needs 24 squares of 3⅞", which fit 10 to a strip, so 3 strips cover it. Eight at a time needs only 6 squares, but at 7¾" only 5 fit across a strip, so it takes 2 strips and the second one is mostly left over. The bigger difference is in time: fewer, larger squares mean less cutting and drawing.
Trim-to-size adds fabric, most of all for four at a time, where the larger squares fit fewer per strip. These numbers are rounded up to ⅛ yard, so small differences can disappear or show up as a full ⅛ yard step.
Cutting and sewing steps for 48 HSTs
Batch methods are mostly about time. To see where the time goes, this table counts the work for the same 48 HSTs, step by step, from the method descriptions above. A seam here means one straight run of stitching, and a cut means one pass of the rotary cutter after sewing.
| Method | Pairs of squares | Squares to cut | Lines to draw | Seams to sew | Cuts after sewing |
|---|---|---|---|---|---|
| Two at a time | 24 | 48 | 24 | 48 | 24 |
| Four at a time | 12 | 24 | 0 | 48 | 24 |
| Eight at a time | 6 | 12 | 12 | 24 | 24 |
The cuts after sewing come out the same for all three, 24 each. The savings are earlier in the process. Eight at a time needs 12 starting squares instead of 48, and half as many seams as two at a time. Four at a time needs no marking at all, which is where its speed comes from. If you trim to size, add 48 trims to every method, one per unit.
Which method to use
Two at a time is a good default. The cut sizes are easy to remember and the edges stay on grain. It also lets you mix fabrics freely, since each pair only makes two matching units.
Eight at a time suits large batches of the same two fabrics, such as a whole quilt of one HST color pair. Four at a time is quick to sew, with no marking, but the bias edges need careful handling, so trim-to-size cutting is often worth the extra fabric with it.
Whatever the method, sew a test unit first and measure it before cutting everything.
Flying geese four at a time
The same calculator handles flying geese. The four-at-a-time method uses one large square of the goose fabric and four small squares of the background, and makes four units with no waste. The large square is the finished width + 1¼ inch, and each small square is the finished height + ⅞ inch.
For 2 by 4 inch finished geese, that is a 5¼" large square and four 2⅞" small squares, the same sizes given in Connie Kresin's flying geese tutorial. For 48 geese you need 12 large squares and 48 small ones. Work out other sizes, and the yardage for both, in the HST and flying geese calculator. For other cut pieces, use the fabric yardage calculator.
Sources and further reading
- Sarah Maker: half-square triangle charts and formulas.
- Simply Quilting: how to make half-square triangles.
- My Girlfriend's Quilt Shoppe: 4 ways to make half-square triangles.
- Connie Kresin: flying geese four at a time.
Video tutorial
"HALF SQUARE TRIANGLES 5 ways 🖐️ Methods to make 1 to 8 at a time & FREE Cheat Sheet!" by Fat Quarter Shop, on YouTube. The video loads only when you press play.