Crochet guide
Crochet hat sizes: how to make a hat that fits
Updated by Khokhar Sab
Measure around the head and make the hat a little smaller. A standard beanie is about 6 percent smaller, so it stretches to fit. Increase the crown until its diameter is the hat circumference divided by π, then work even rounds until the hat reaches the height for that size.
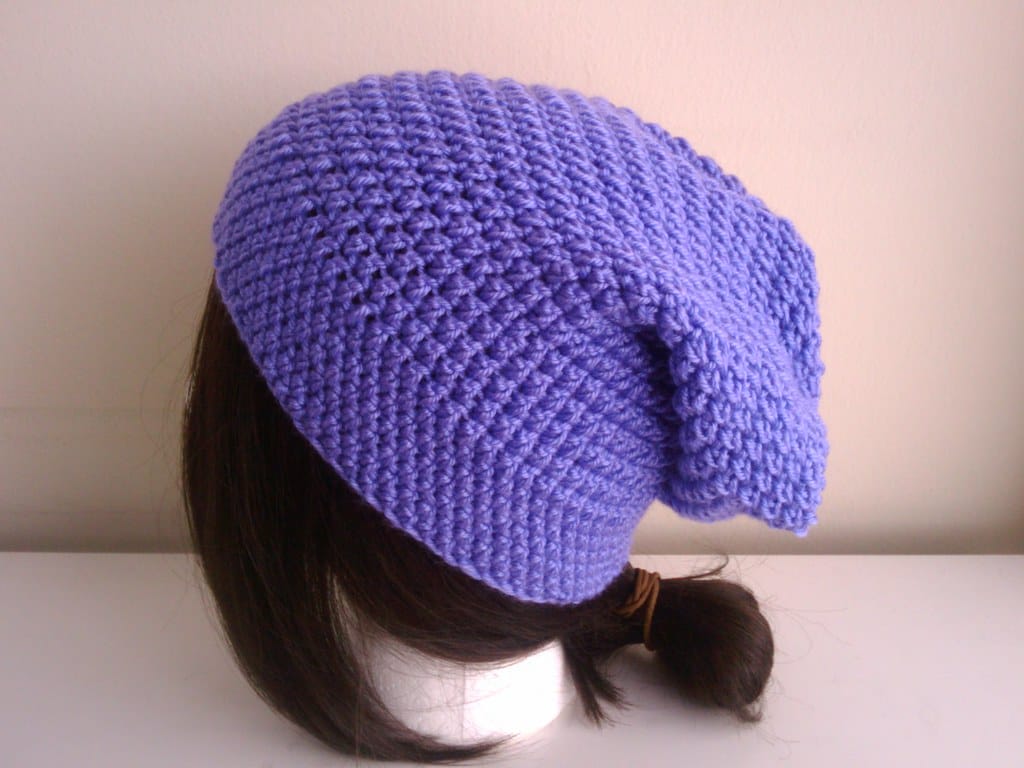
Start with a head measurement
Wrap a soft tape measure around the head, just above the eyebrows and ears, across the widest part at the back. Keep the tape snug but not tight. That number is the head circumference, and every other figure in a hat comes from it.
If you can't measure the person, a size chart gives a typical figure for each age. The table near the end of this guide lists the approximate sizes the hat size calculator uses. Charts vary, so a real measurement is always better. For another set of typical figures by age, see the Craft Yarn Council's head circumference chart.
Measure height too, if you can. Go from the crown of the head down to where you want the brim to sit, often around the middle of the ear for a beanie.
Negative ease: why the hat is smaller than the head
Ease is the difference between the size of a garment and the size of the body. A hat with negative ease is smaller than the head, so it stretches a little and stays put. A hat the exact size of the head tends to sit loosely and slide around.
The calculator offers four fits, each set as a percentage of head size:
- Snug
- 10 percent smaller than the head. Close-fitting, for stretchy fabric.
- Standard
- 6 percent smaller. A typical beanie fit.
- Relaxed
- 2 percent smaller. Only slightly fitted.
- Slouchy
- 5 percent larger than the head, with 2 inches of extra height so the top can fold over.
How much ease you want depends on the stitch. Crochet fabric is often firmer than knitting, and some stitch patterns hardly stretch at all. For a firm fabric, choose less negative ease. For a stretchy one, you can choose more.
For a 22 inch head at standard fit, the target is 22 × (1 − 0.06) = 20.68 inches around.
How much negative ease? Sources disagree
Hat designers give different rules, and they give them in inches. Joy of Motion Crochet suggests making the hat about 1 inch smaller than the head. Oombawka Design uses 2 inches for medium and DK acrylic yarn, and about 1 inch for cotton. Ned & Mimi says hat patterns apply 1 to 3 inches.
A fixed number of inches treats every head the same, so the calculator uses a percentage instead. The table shows what that means in inches for each size.
| Size | Head | Standard ease (6%) | Snug ease (10%) | 2 inches as a percent |
|---|---|---|---|---|
| Preemie | 12 in (30 cm) | 0.7 in | 1.2 in | 17% |
| Newborn | 13.5 in (34 cm) | 0.8 in | 1.4 in | 15% |
| Baby 3 to 6 m | 15 in (38 cm) | 0.9 in | 1.5 in | 13% |
| Baby 6 to 12 m | 17 in (43 cm) | 1.0 in | 1.7 in | 12% |
| Toddler | 18 in (46 cm) | 1.1 in | 1.8 in | 11% |
| Child | 19 in (48 cm) | 1.1 in | 1.9 in | 11% |
| Teen / adult S | 20.5 in (52 cm) | 1.2 in | 2.1 in | 10% |
| Adult M | 22 in (56 cm) | 1.3 in | 2.2 in | 9% |
| Adult L | 23.5 in (60 cm) | 1.4 in | 2.4 in | 9% |
For an adult head the rules land close together: 2 inches is 9 percent of a 22 inch head, between the calculator's standard and snug fits. On a 13.5 inch newborn head, 2 inches is 15 percent, more than the snug fit. Standard fit takes off 0.8 inch instead. For baby hats, a percentage or the 1 inch rule is the safer choice.
Yarn fiber and stitch pattern
How far a hat stretches depends on the yarn as well as the stitch. Joy of Motion Crochet says wool and acrylic give a normal amount of stretch, smooth fibers such as alpaca can give more, and fluffy yarns and cotton can give less. Oombawka Design adds that cotton doesn't spring back after stretching, which is why it drops to about 1 inch of ease for cotton. Ned & Mimi says a cotton hat should sit closer to the real head size, while a very stretchy ribbed hat can be several inches smaller.
In the calculator, that means relaxed fit for cotton or a firm stitch, standard fit for wool or acrylic, and snug fit only for a fabric that stretches well.
Turn the target into stitches
Next you need your gauge, measured from a swatch worked in rounds in the hat's stitch. The example here uses 12 stitches and 7 rounds per 4 inches, so 3 stitches per inch.
20.68 inches × 3 stitches per inch = 62.0 stitches. You can't have a fraction, and the crown method below only lands on certain counts, so the next step picks the nearest one that works.
The flat-circle crown
A top-down hat starts with a small ring of stitches and grows outward in a flat circle. The usual rule is that every increase round adds the same number of stitches as the first round had. If round 1 has 12 stitches, round 2 has 24, round 3 has 36, and so on. Round r has 12 × r stitches.
That means the final crown count must be a multiple of 12. The nearest multiple to 62.0 is 60, reached after 5 increase rounds:
- Round 1: 12 stitches.
- Round 2: 24 stitches.
- Round 3: 36 stitches.
- Round 4: 48 stitches.
- Round 5: 60 stitches.
At 3 stitches per inch, 60 stitches measure 20 inches, close to the 20.68 inch target. If the nearest multiple is too far from your target, try a different starting count or a slightly different hook to shift your gauge.
Shorter stitches usually start with fewer stitches in the first round and taller ones with more. Follow your pattern's starting count, then keep adding that same number each round.
The crown check: circumference ÷ π
Stitch counts tell you what should happen. A tape measure tells you what did. Because the crown is a flat circle, its diameter is its circumference divided by π (about 3.14):
crown diameter = hat circumference ÷ π.
For the 20 inch circumference in the example, the crown should measure 20 ÷ π = 6.37 inches across. Using the 20.68 inch target instead gives 6.58 inches.
Lay the crown flat and measure straight across the middle. If it's smaller than the target, add another increase round. If it's bigger, take out a round. If it ruffles, you're adding stitches faster than the fabric can lie flat. If it cups into a bowl, you're adding them too slowly.
If a finished hat comes out too small, Oombawka Design points to two usual causes: a tighter gauge than the pattern, or stopping the increase rounds too soon. Measure the crown and your gauge before you change anything else.
Height: working even to the brim
Once the crown is the right size, stop increasing and work rounds with the same stitch count until the hat is long enough. The example uses a 9 inch height, the figure listed for Adult M.
At 7 rounds per 4 inches, 9 inches is 9 × 7 ÷ 4, which rounds to 16 rounds. The crown took 5 of those, leaving 11 even rounds. Measure as you go, since row gauge can drift over a whole hat.
Adding a ribbed brim
A ribbed brim, made with front and back post stitches, adds stretch at the edge and helps the hat grip. The brim's height counts toward the total height, so the plain section gets shorter to make room.
With a 1.5 inch brim in the example, the brim takes 3 rounds and the plain section drops to 8 rounds. Post-stitch ribbing alternates one front and one back stitch, so the brim needs an even number of stitches. 60 is already even, so the brim uses 60. Some people work the brim on fewer stitches than the body for a closer fit. The calculator lets you reduce the brim count by up to 30 percent while keeping it even.
Sizing bottom-up and sideways hats
Not every hat starts with a crown. The same target circumference sizes the other two common methods.
Bottom-up in the round. Joy of Motion Crochet describes starting with the hat circumference and working up with the same stitch count. At the example gauge, 20.68 inches × 3 stitches per inch = 62.0 stitches. Round to 62 if you start with post-stitch ribbing, which needs an even count. Ned & Mimi notes that bottom-up hats tend to fit a little looser, because it is hard to decrease enough at the top to close the gap.
Sideways rectangle. Here you decide the height first, then work rows until the piece reaches the circumference, and seam it into a tube. For a 9 inch hat at 3 stitches per inch, the foundation is about 27 stitches. At 7 rows per 4 inches, the 20.68 inch circumference takes about 36 rows. Measure the row gauge in the hat's stitch, since it now sets the width.
Oombawka Design also lists three heights for each size: to the middle of the ear, to the base of the ear, and a slouch length. The extra slouch length also suits a folded brim, because the fold uses up some of the height.
Hat sizes at a glance
These are the approximate head sizes and beanie heights the calculator starts from. The table also shows the standard fit target (6 percent negative ease) and the crown diameter that target works out to.
| Size | Head (in) | Height (in) | Hat circumference (in) | Crown diameter (in) |
|---|---|---|---|---|
| Preemie | 12 | 4.5 | 11.3 | 3.6 |
| Newborn | 13.5 | 5.5 | 12.7 | 4.0 |
| Baby 3 to 6 m | 15 | 6.5 | 14.1 | 4.5 |
| Baby 6 to 12 m | 17 | 7 | 16.0 | 5.1 |
| Toddler | 18 | 7.5 | 16.9 | 5.4 |
| Child | 19 | 8 | 17.9 | 5.7 |
| Teen / adult S | 20.5 | 8.5 | 19.3 | 6.1 |
| Adult M | 22 | 9 | 20.7 | 6.6 |
| Adult L | 23.5 | 9.5 | 22.1 | 7.0 |
Heads within one age group can differ, so use a real measurement when you have one.
Doing it for your own hat
The crochet hat size calculator takes a head size, fit, gauge and starting count. It then lists every crown round, the crown diameter to check against, the number of even rounds and the brim count. It can also estimate yarn if you know how many yards your swatch used. For picking a yarn and hook, see the yarn weight chart and the crochet hook size chart. The guide on how to measure gauge covers making the swatch.
Sources
Joy of Motion Crochet's hat sizes guide (ease, fiber, bottom-up and sideways hats), Oombawka Design's hat size chart (ease for acrylic and cotton, heights, troubleshooting) and Ned & Mimi's hat sizes chart (ease range, fiber, bottom-up fit).
Video tutorial
"How to use a crochet size chart | how to adapt sizing of a hat pattern" by DIY FROM HOME CROCHET, on YouTube. The video loads only when you press play.